Installation guide
Step 1
Follow the installation instructions for your Cardo intercom. Typically, this begins with installing the speakers inside your helmet and tucking the wires neatly into the inner padding. The specific process may vary based on your Cardo model and helmet type.
Step 2
After installing the speakers and microphone, remove the helmet’s plastic cover by unclipping the latch at the back. Make sure the area is clear of any obstructions that could interfere with attaching the Tubs mount.
Step 3
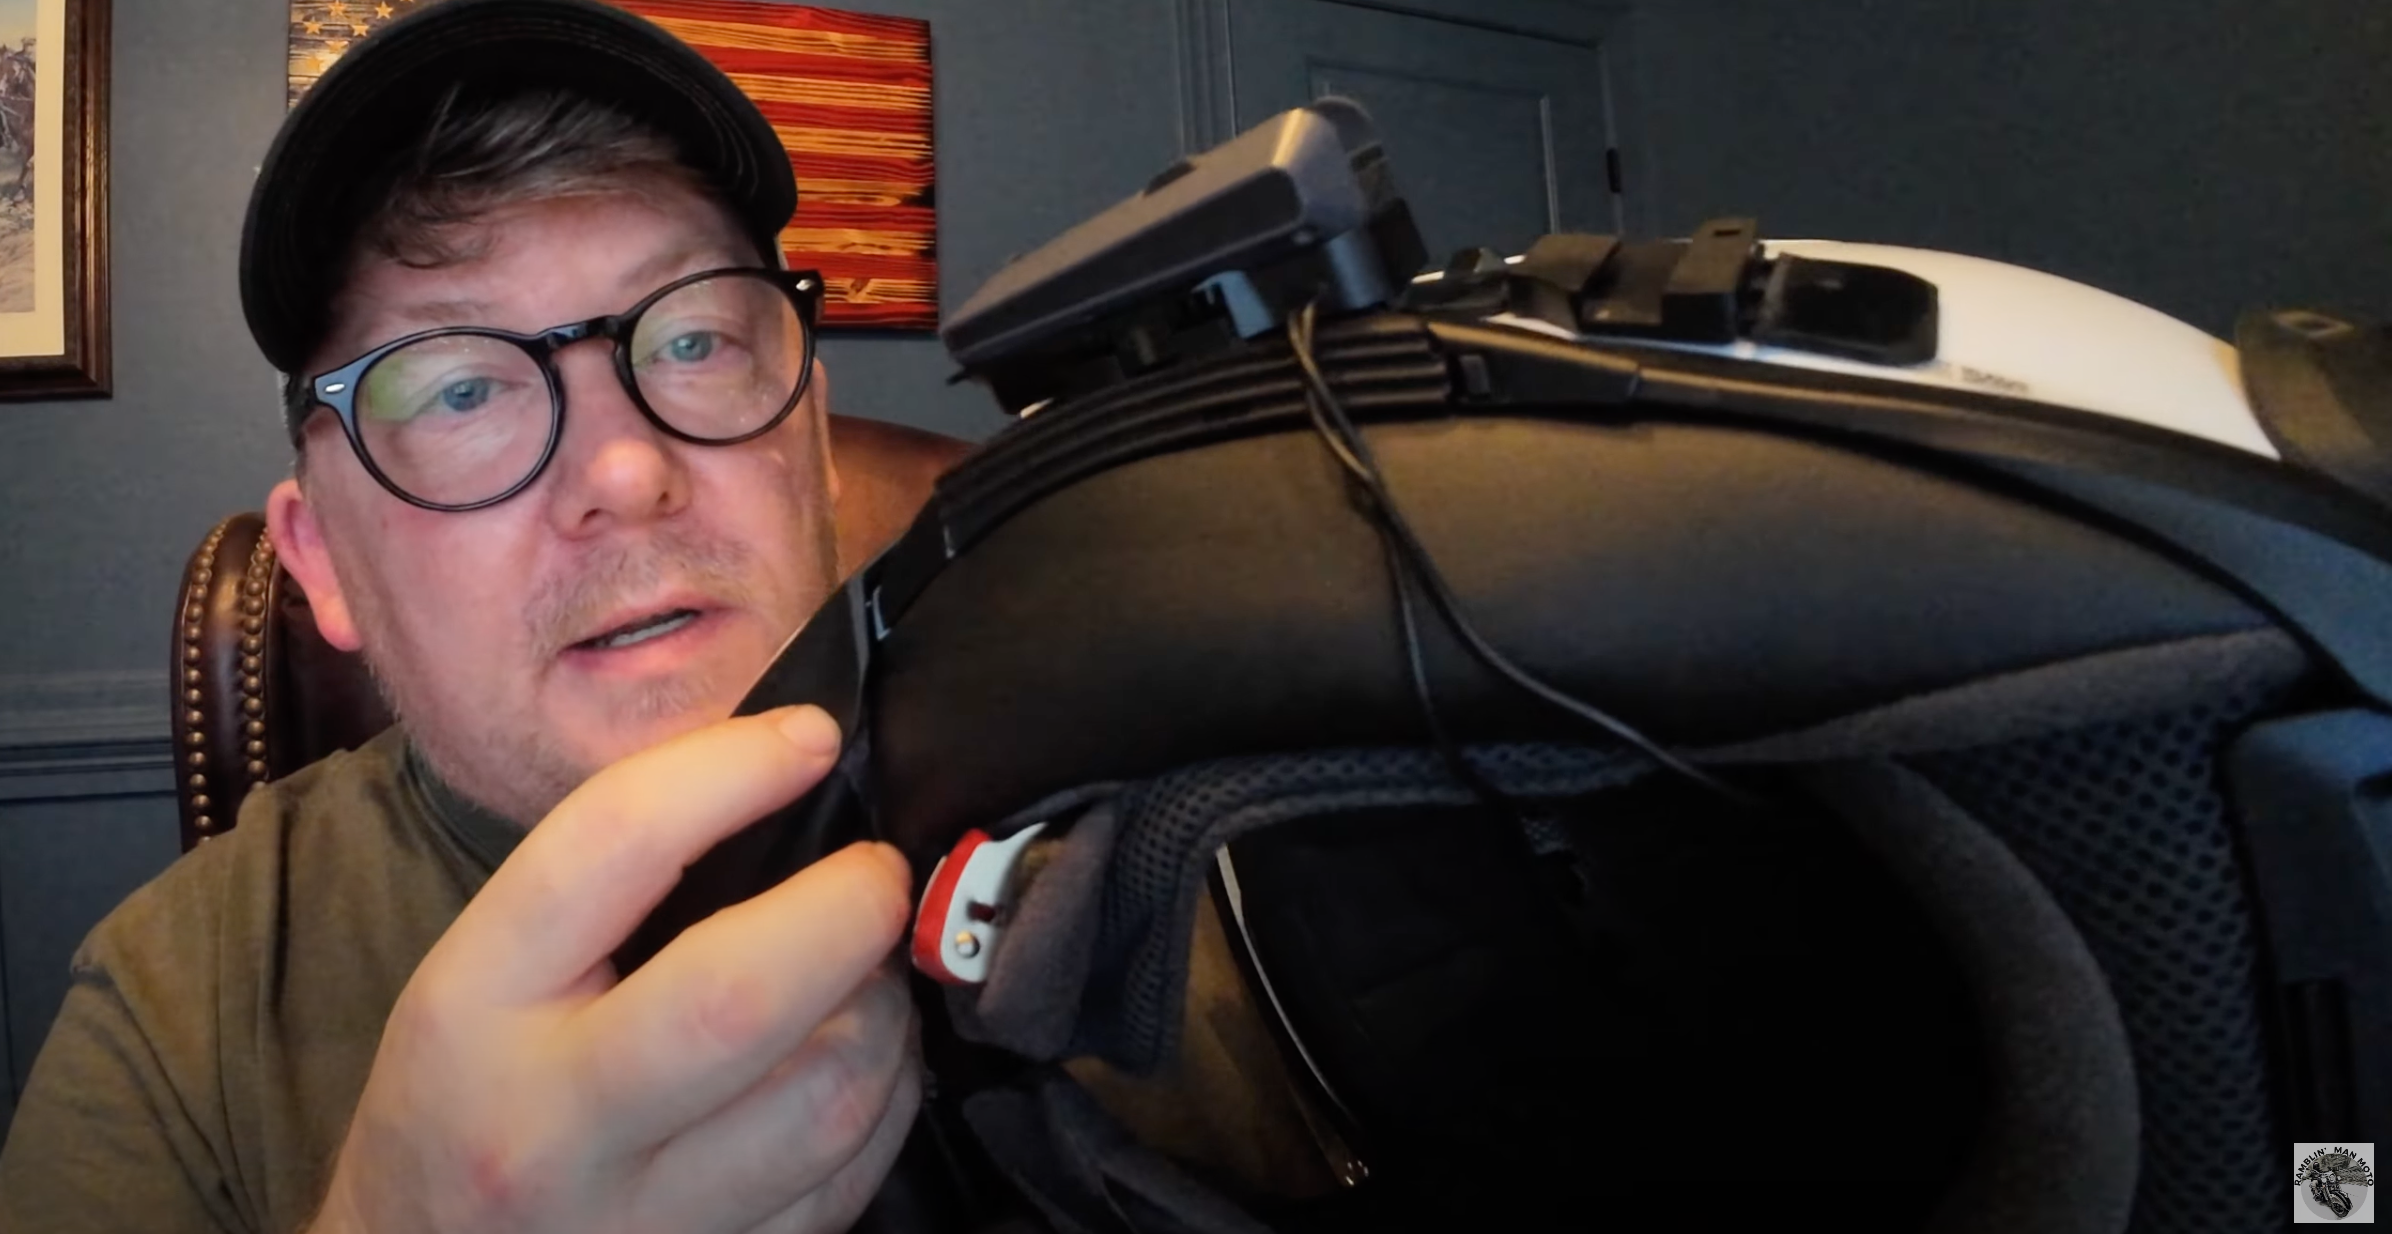
To attach the Tubs mount, start by placing the front part of the mount into the front of the helmet’s mounting area at a 45-degree angle. Then, press the back of the mount up until you hear it snap into place. This audible click confirms that the mount is securely attached. Now, attach the Cardo mounting plate onto the Tubs mount.
Step 4
With the mounting plate firmly in place, click the intercom unit itself onto the mount. Tuck any loose wires between the helmet’s shell and padding. You’re now all set and ready to go!
Frequently Asked Questions
What are the mounts made from?
The mounts are made from PA12 nylon, a robust thermoplastic known for its excellent mechanical properties. Each mount is precision-engineered to ensure strength, accuracy, and resistance to temperature and chemicals, making it ready to withstand vibrations, high wind speeds, and rugged terrain.
Are helmets or intercoms included?
We only supply the mounting product.
How long is the warranty?
Tubs Jackson 1-Year Limited Warranty
We stand behind the quality of our products and offer a 1-year limited warranty from the date of purchase.
What is Covered
This warranty covers defects in materials and workmanship under normal use. If your Tubs Jackson product is found to be defective within the warranty period, we will repair or replace the product at our discretion, free of charge.
This warranty does not cover:
- Damage caused by misuse, abuse, or accidents
- Normal wear and tear, including scratches, scuffs, or discolouration
- Modifications or repairs made by anyone other than Tubs Jackson or an authorised service provider
- Damage due to exposure to extreme conditions, such as excessive heat, cold, or chemicals beyond the product’s design specifications
How to Make a claim
To make a warranty claim, please contact our customer service team at info@atcstudio.co.uk with your proof of purchase and a description of the issue. We may require you to return the product for inspection.
Where do you ship to?
Currently, we ship Tubs Jackson products to almost every country. Enter your shipping address on the checkout page to see shipping quotes. If you receive an error message, it means we cannot ship to your country. Please email us at info@atcstudio.co.uk if you have any questions.
Please note, we are not responsible for any duties or taxes incurred upon receiving your shipment. Canadian customers will only need to pay taxes, while customers in other countries may be subject to duties, taxes, and/or brokerage fees.
For more details on our shipping options, please see our Shipping Policy.
Where do the products ship from?
All products are designed and manufactured in London, UK at Tubs HQ.
- All orders ship from Tubs HQ in London, UK.
- Orders outside the UK may be subject to import duties and taxes upon arrival. Please check with your local government for information about import taxes.
How much does shipping cost?
Shipping costs vary depending on your location and the size of your order. Shipping costs are calculated at checkout. UK orders are always free.
How long will it take to receive my order?
Delivery times vary by location. UK orders typically arrive within 3-5 business days, while international orders may take 7-14 business days. Shipping guide for more.
Can I change or cancel my order after it’s been placed?
Once an order has been placed, we work quickly to process it. Contact us as soon as possible if you need to make changes, and we’ll do our best to assist you.
The Tubs Private Jet leaves on Tuesday and Friday at 5pm for deliveries so you have until this deadline to cancel your order depending on when you ordered.
What payment methods do you accept?
We accept major credit cards (Visa, MasterCard, American Express) and PayPal. All payments are processed securely.
What is your returns policy?
We accept returns within 30 days of delivery for unused, undamaged products in their original packaging.
Who is Tubs?
He's the boss